decordip Garden and patio decoration inspiration
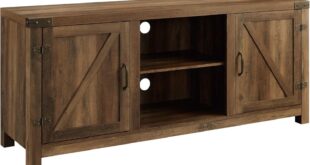
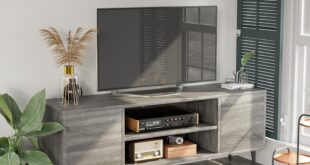
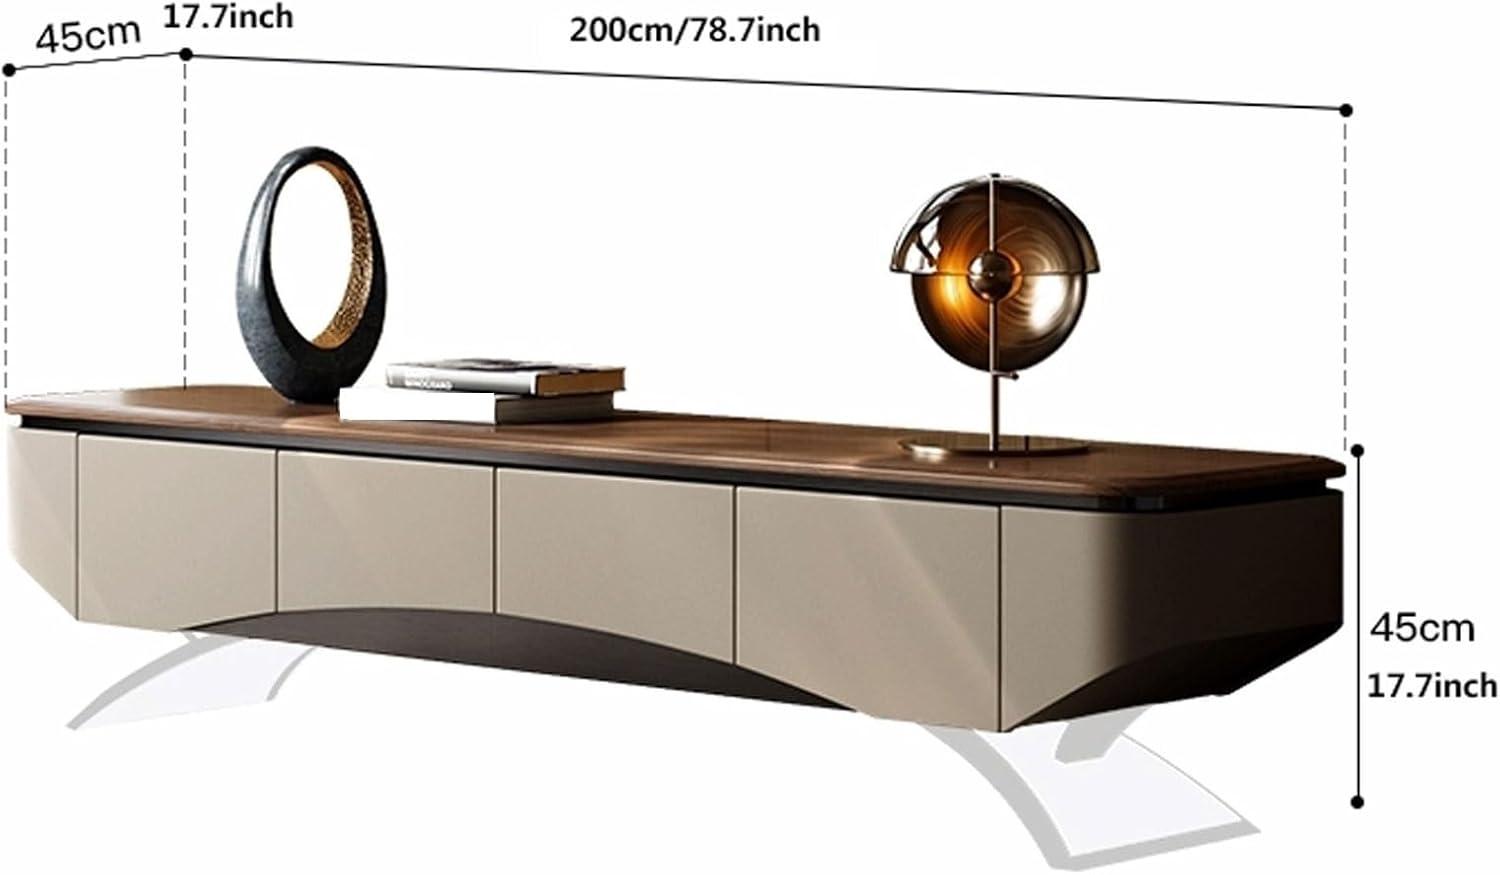
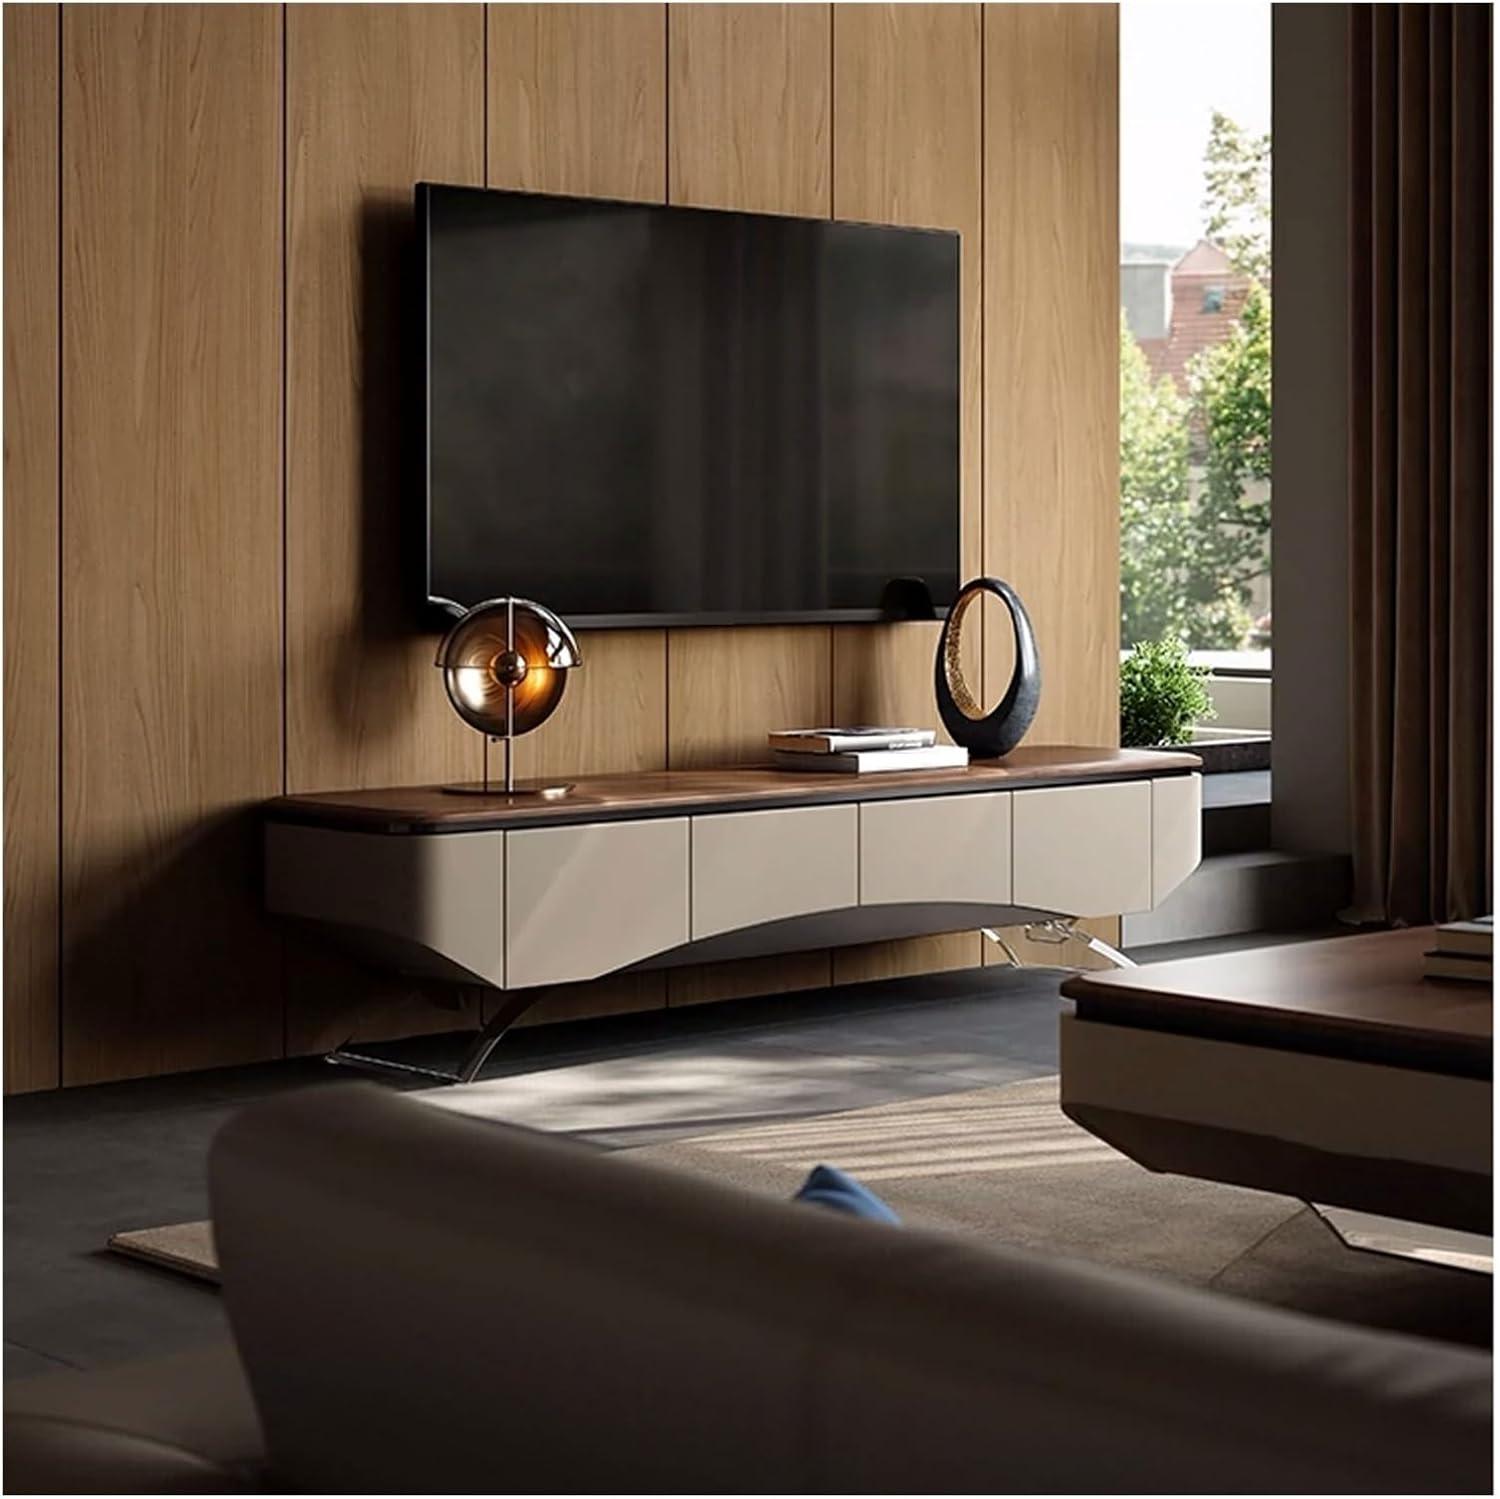
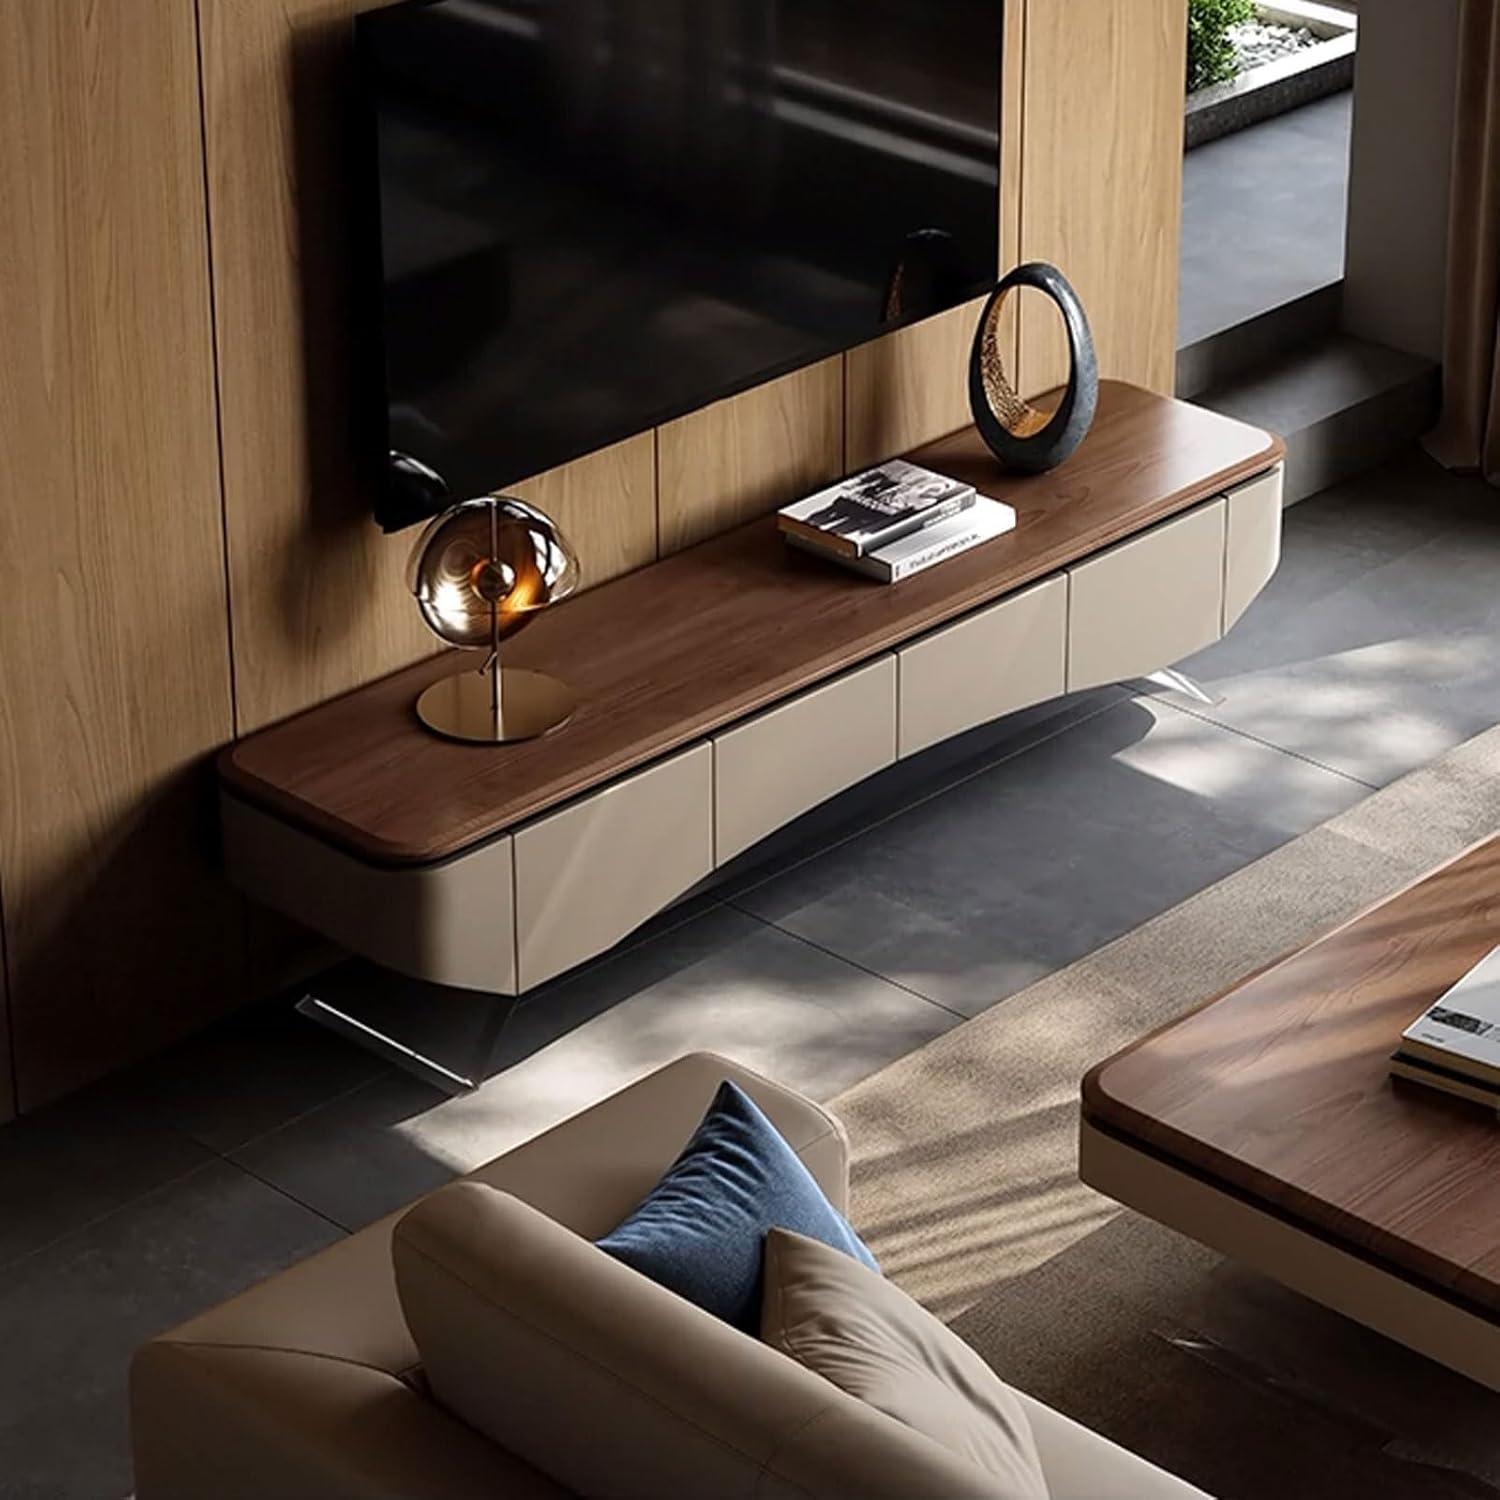
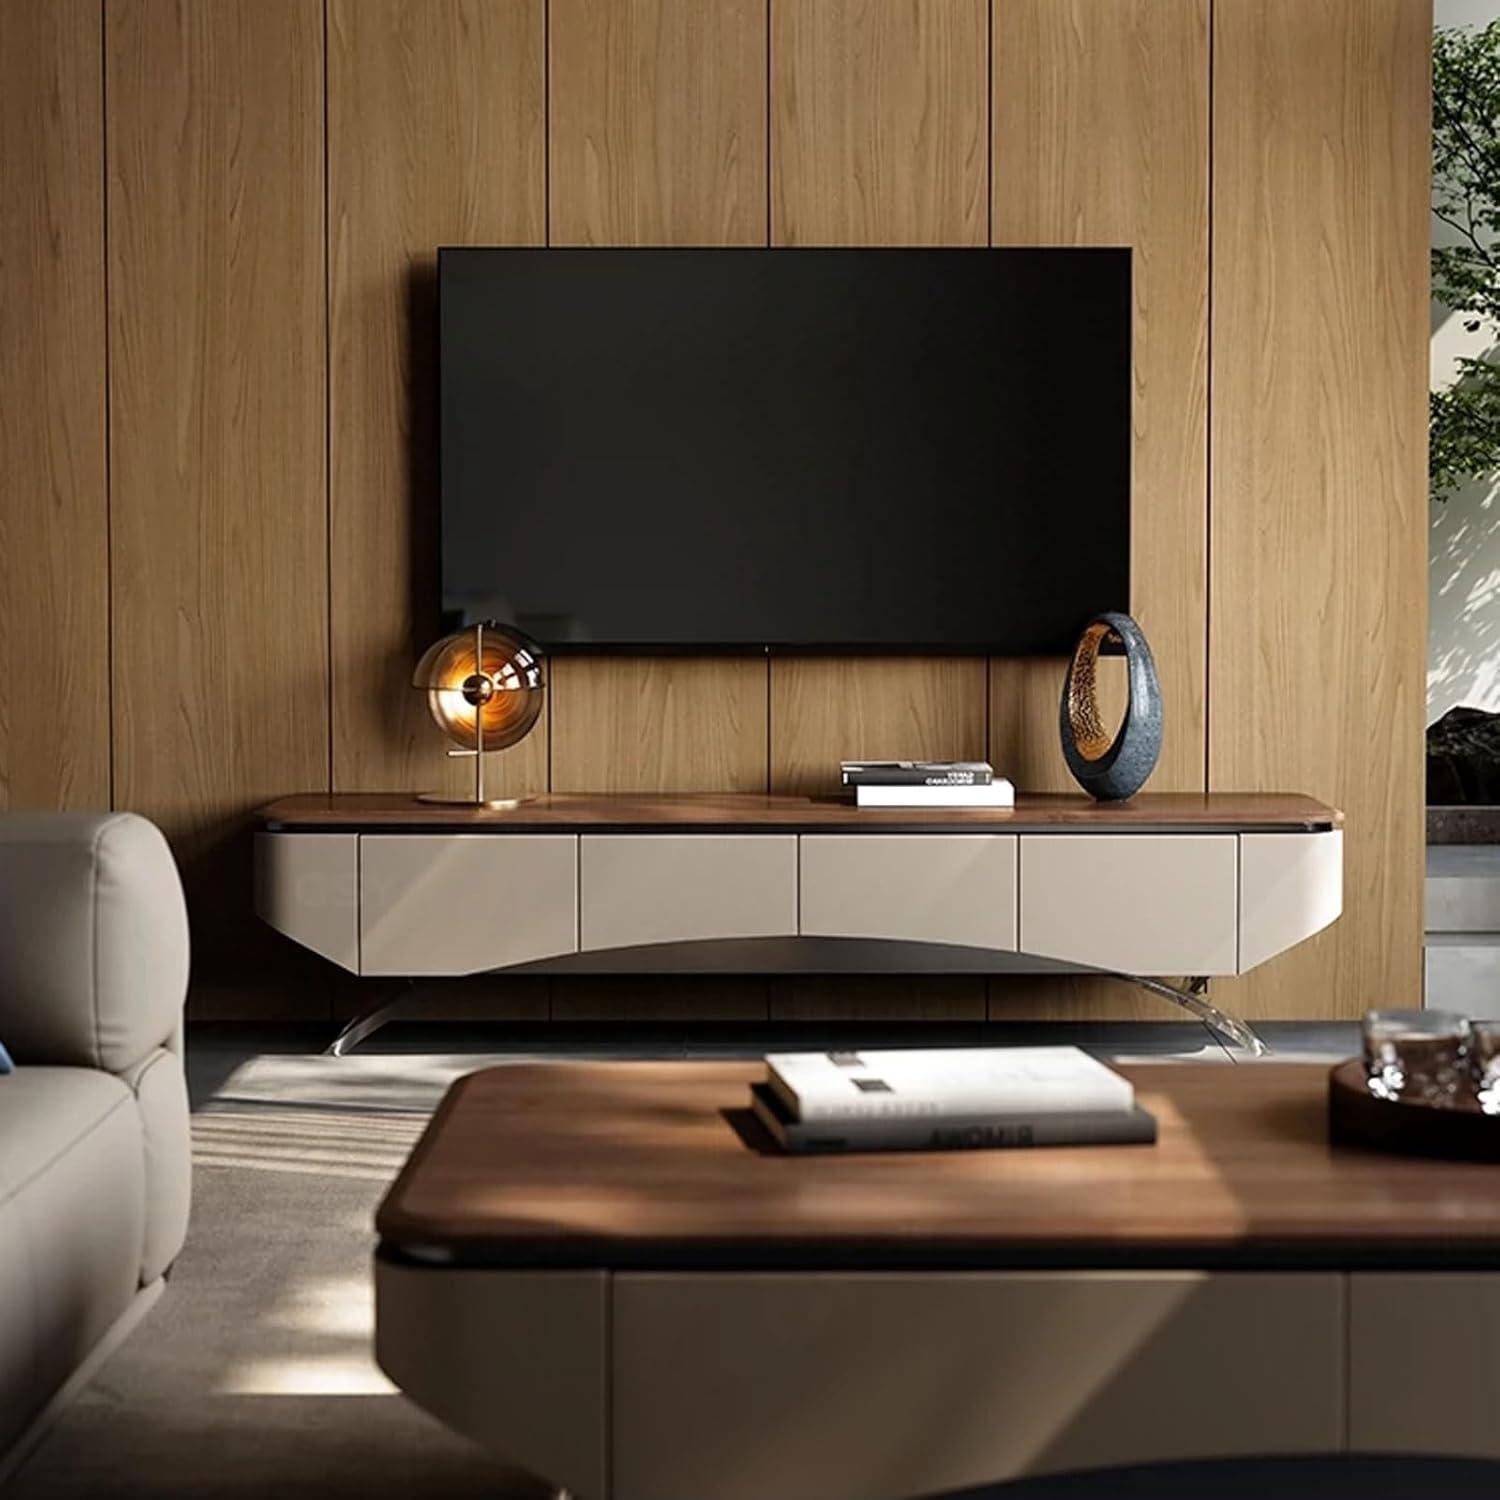
Late-afternoon light skimming the top draws yoru eye to the warm cherry tones and the faintly textured finish under your palm. Listed as “TV Stand Modern TV Stand with Leg, Wood Entertainment Center Media Console, Household TV Shelf Media Console Cabinet for Storage TV Cabinet” and shortened here to the Floating TV Cabinet, it spans nearly two metres across the wall and reads as a long, low anchor in the room. From a few steps back the silhouette feels restrained and minimalist; up close the wood feels substantial and the discreet cable holes suggest this was made to live with everyday electronics.Its shallow depth and the slight lift from the legs let light and floor space breathe beneath, shaping how the whole TV wall gestures in the space.

When you unbox it, the immediate impression is one of horizontal emphasis and a relatively low profile — it reads more like a long, lean element on the wall than a bulky piece of furniture on the floor. you notice how the silhouette stretches across a single plane and how that stretch changes the rhythm of the room: walls that once felt tall get a new horizontal anchor, and the area directly beneath the cabinet becomes visual breathing room. A few fast takeaways jump out right away:
- Long, linear presence — it pulls the eye along the wall.
- shallow depth — it doesn’t intrude far into the walking space.
- Low visual bulk — there’s more open sightline below the piece than with taller stands.
As you carry the pieces into position and step back to see it in your space, you find yourself making small, habitual tweaks — sliding a sofa a few inches, angling a lamp, or deciding whether to center it under a window — the sort of adjustments people often make without much thought. The way items you put on top or leave off changes the perceived footprint is obvious: a couple of decorative objects create a compact vignette while a row of equipment lengthens the visual field. the simple table below captures a few of those immediate impressions and the ways they tend to affect a room’s flow:
| Observation | How it changes the room |
|---|---|
| Low, horizontal silhouette | Maintains open sightlines and makes walls feel wider |
| Shallow projection | Leaves walking paths largely unaffected |
| Long span | Becomes a visual anchor that defines a horizontal band |
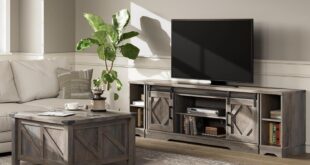
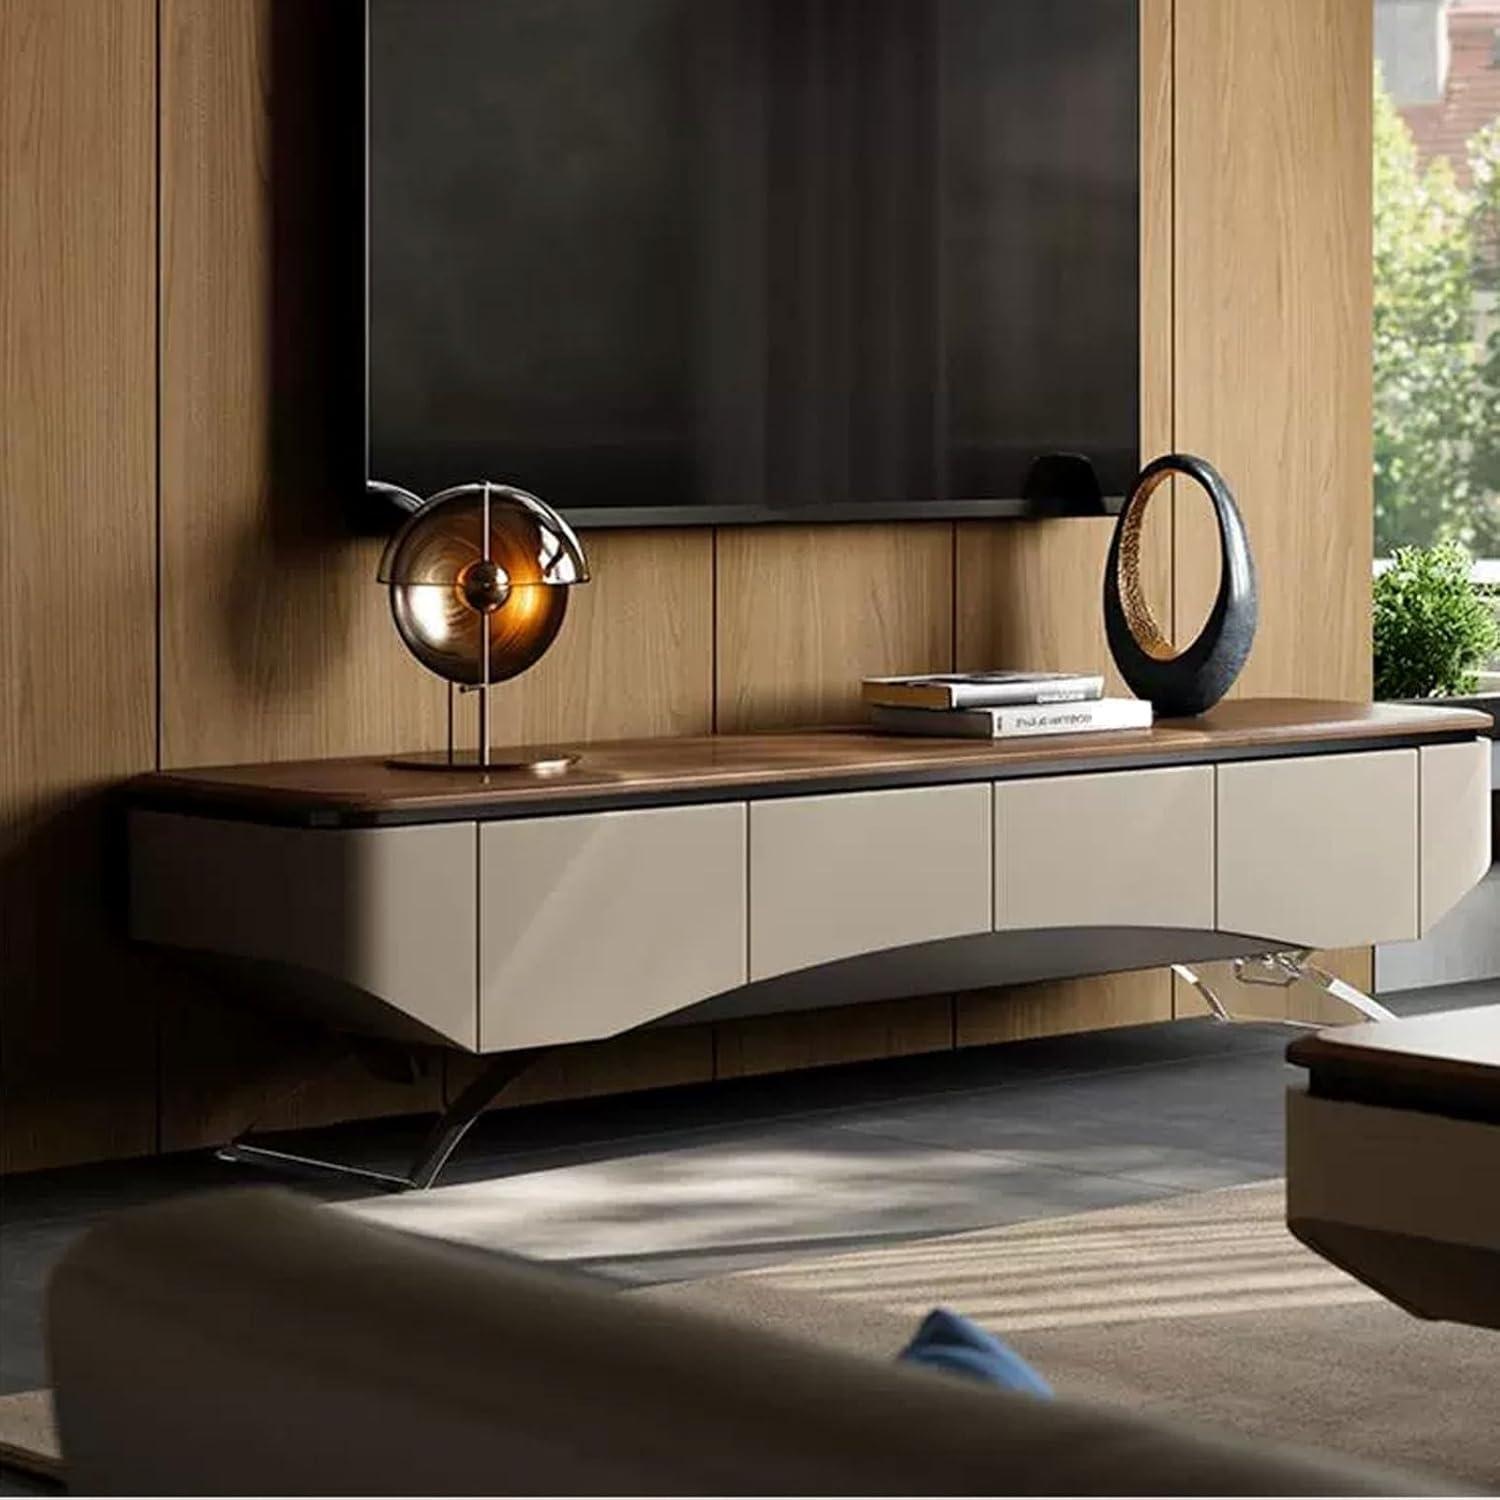
How the silhouette and wood finish sit in your living area
Silhouette tends to read as a horizontal anchor in the room: from the main seating you’ll notice how the clean edge creates a visual horizon that can make the TV feel more deliberately framed. Placed against a plain wall the unit’s outline cuts a steady line; beside patterned wallpaper or a gallery wall it becomes a calmer, linear element in the composition. In everyday use you might find yourself nudging it a hair left or right to line up with the sofa or to let a lamp sit comfortably on one side — those tiny adjustments change how prominent the shape feels without altering the overall balance.
- Against low seating: the stand’s profile keeps sightlines open.
- Under a window: the silhouette reads as a base rather than competing with the view.
- Near taller furniture: it tends to visually flatten the wall, letting taller pieces stand out.
Wood finish shifts noticeably with light and proximity.In softer, warm evening light the grain and hue appear richer and more textured; in bright midday sun the finish can look paler and show surface reflections.Up close you’ll notice the tactile quality — a slight tooth or smoothness where hands rest — and occasional dust or fingerprints that show more on certain angles; that’s part of how the finish behaves in daily use. the quick table below summarizes common lighting effects you’ll see in a typical living area.
| lighting condition | How the finish reads |
|---|---|
| Warm evening/lamplight | Deeper tone, visible grain, softer reflections |
| Bright daylight | Lighter appearance, more surface sheen, finer texture visible |
| Indirect/filtered light | Even color, muted grain, less glare |
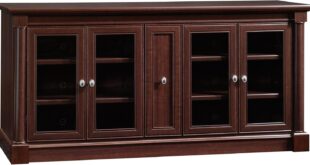
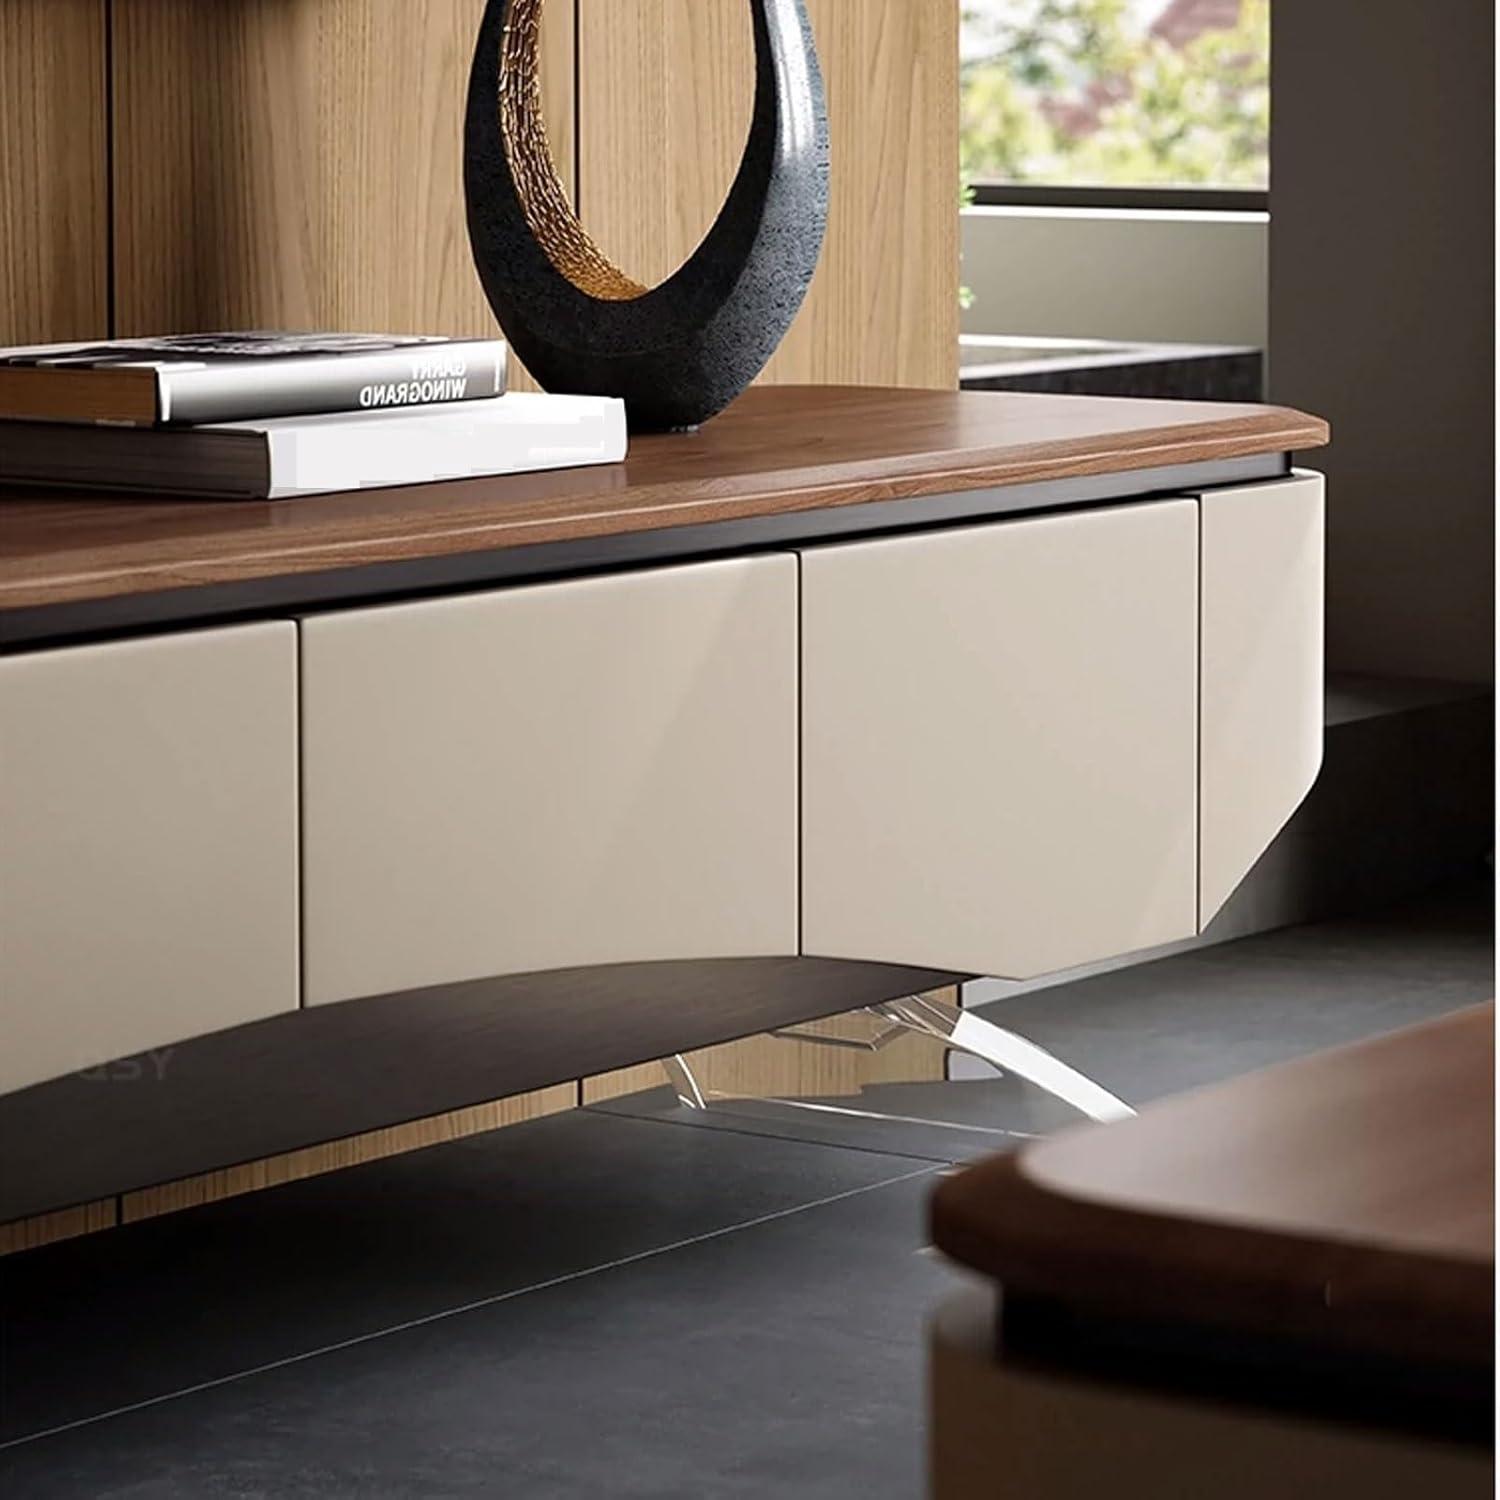
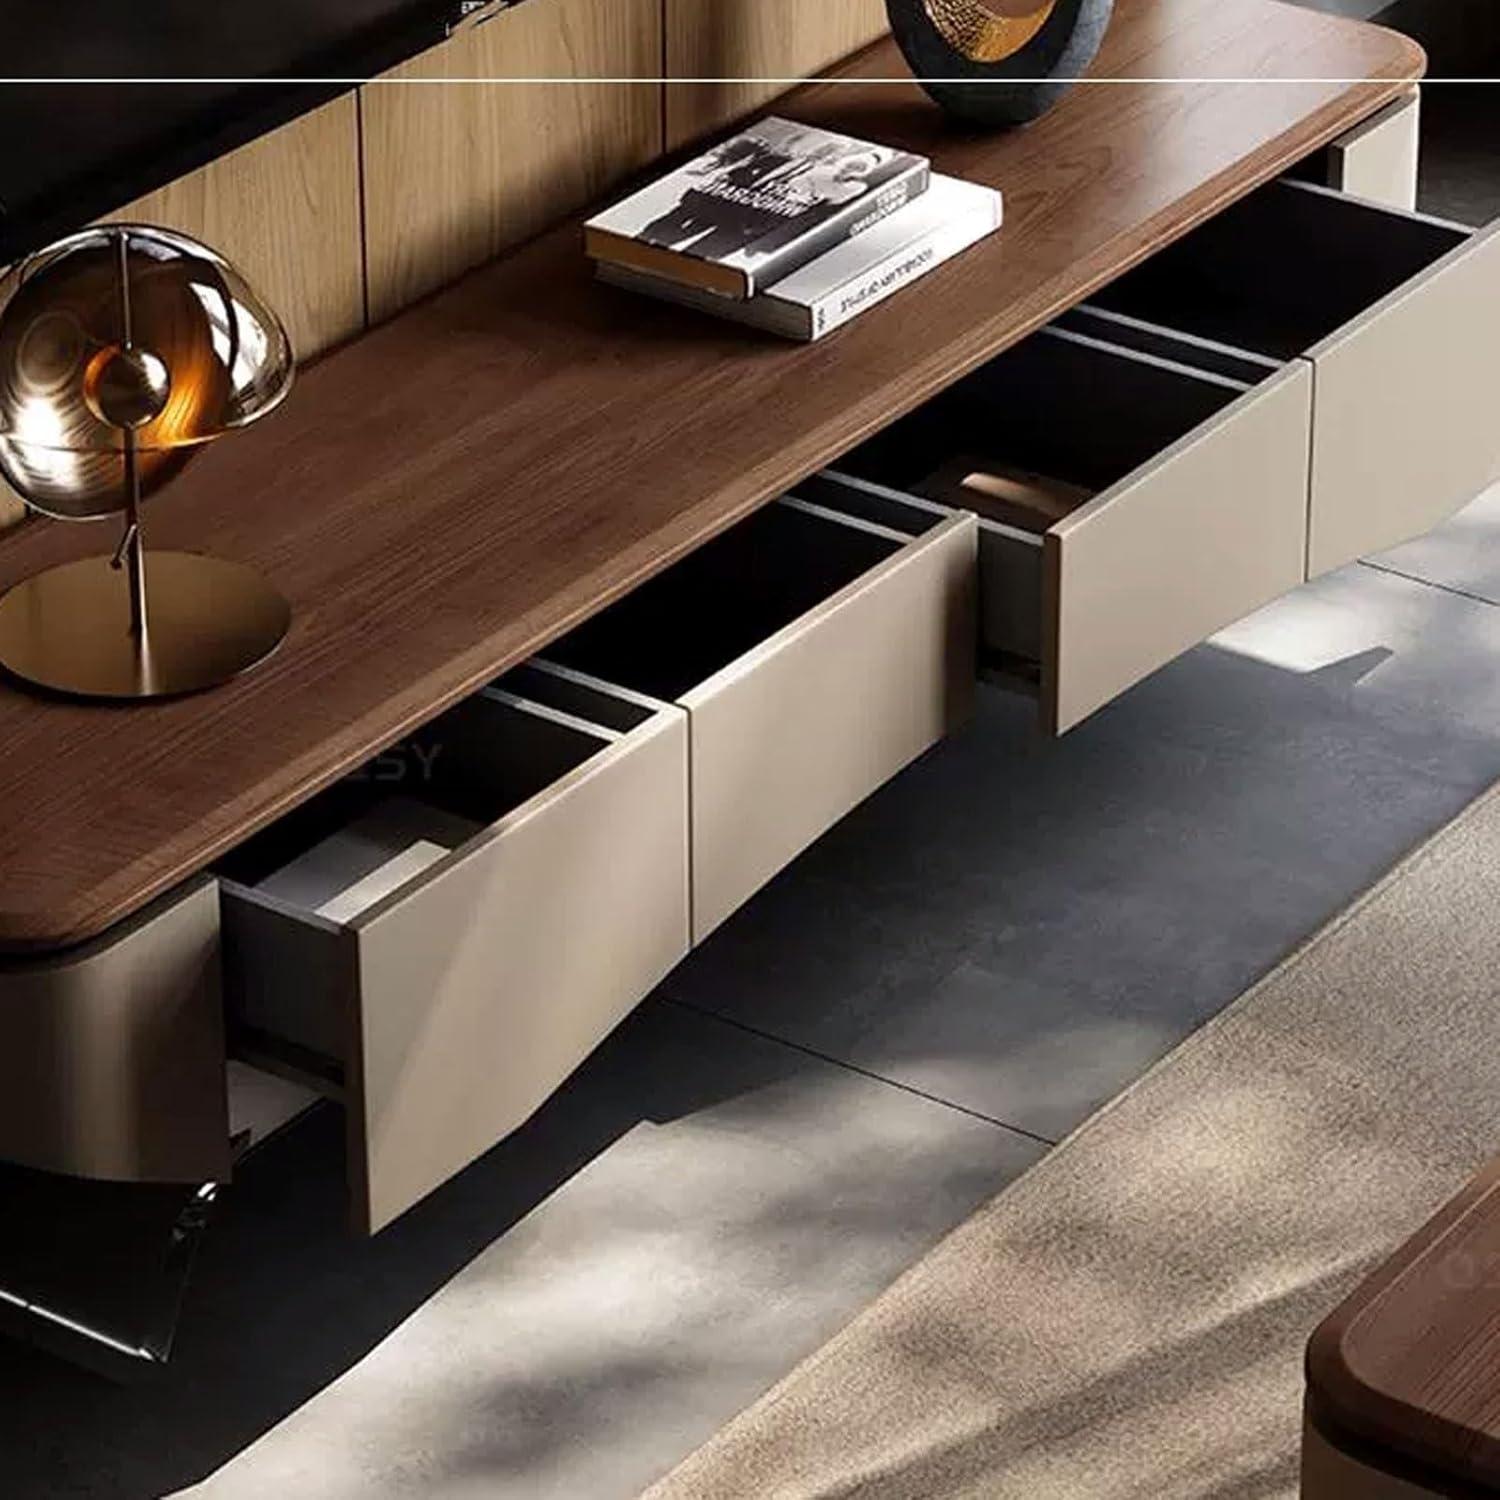
Materials joins and the hardware you can see and touch up close
Up close, the surfaces read more like a finished veneer than raw timber — the top and faces feel smooth under your palm, with a light texture where the grain pattern is printed or stained. At the joins you can see narrow seams where panels meet: a thin line at the back panel, slightly more obvious edge banding along the front corners, and the modest butt seams where the shelf meets the vertical panels. When you run a finger along the cable holes the edges are slightly rounded rather than sharp, and the paint or finish tends to mask small sanding marks; under bright light you might spot tiny inconsistencies in the finish at corners or where glue was wiped away during assembly. Little incidental things become routines: nudging the unit to align it on the wall reveals how the mounting rail sits, and reaching behind to tuck a cord shows whether the grommet lets cables slide without catching on raw wood at the hole perimeter.
The visible hardware is straightforward and functional.
- Mounting rail and screws — a horizontal metal rail with recessed screw heads that sit flush or just below the rail surface.
- Face fasteners — small cross-head screws or cam-lock caps along the underside and inside corners that remain accessible if you ever tighten them.
- Cable openings — simple round cutouts with smoothed edges rather than plastic grommets.
| Visible piece | What you’ll typically notice up close |
|---|---|
| Mounting bracket | Matte metal finish, slight paint-to-metal join, screws fairly visible when viewed from below |
| Shelf joins | Thin seams and edge banding; a hairline gap may show at angled light |
| Cable holes | Rounded cut edges, no extra grommet trim in most cases |
There’s a small trade-off evident in the details: exposed fasteners mean easier access for adjustments but they also break a perfectly smooth silhouette. If you want the full list of included fasteners and mounting specifications, they’re shown on the product’s detailed listing.
How your TV and components sit together dimensions and clearances to measure
When you think about how your TV and components will sit together, start by taking the TV out of the box (or looking up its specs) and measuring the visible edges and mounting points rather than just the advertised screen size. Measure the overall width and height including any thick bezels, then measure depth both with the TV on its stand and as if it were wall-mounted so you know how far it will project from the wall. Check the VESA pattern and distance from the center of the mount to the top and sides of the TV if you’ll be using a bracket or the unit’s top surface for placement. For each component — game consoles, AV receiver, set-top box, soundbar — note the unit’s width, depth and height, and also where its cables and ventilation openings are located; in everyday use you’ll often slide things a little back or to the side to reach cable holes or IR sensors, so account for that small shuffle when measuring the space available.
- Footprint: measure the widest part of a component including any feet or risers that sit on a shelf.
- Vertical clearance: note the height from shelf surface to any top panels so tall components or stacked items don’t hit the shelf above.
- Cable/airflow gaps: leave room behind and above devices for power and HDMI cables plus airflow around heat-generating gear.
- Front access and remote line-of-sight: ensure the front panel and IR receiver aren’t blocked by the stand’s lip or decorative trim.
| Measurement | How to measure | What to compare it with |
|---|---|---|
| TV overall width/height/depth | Measure at the widest points including bezels and stand/feet | available top surface, wall space, or mount bracket points |
| VESA pattern and center offsets | Measure horizontal and vertical hole spacing; note center-to-edge distances | Mounting bracket holes and backing plate clearances |
| Component footprint (W×D×H) | Measure with cables attached if they extend beyond the casing | Shelf depth, opening height, and cable-pass locations |
| Rear and top clearance | Measure the gap between the back of the device and nearby surfaces | Cable routing access and ventilation space |
As you take these measurements, it’s common to discover little mismatches — a console that needs a couple of centimetres more depth with its HDMI cable attached, or an AV receiver whose front display sits slightly behind the shelf edge and needs a clear line to the remote. Jot dimensions on a sketch of the cabinet or wall, and anticipate small adjustments you’ll make during setup (sliding components, angling cables, moving vents) so the assembled arrangement works in practice and also it does on paper.
Everyday interaction how you reach store and route cables in a typical setup
when you walk up to the unit in everyday use,interaction is often more about small habits than conscious planning. You tend to slide a hand along the front edge to lift a game controller or reach into the open shelf for a remote; items you use constantly end up near the front where they’re easiest to grab, while things you touch less frequently enough migrate toward the back. The top surface is where you most often momentarily place a phone or a drink while you fiddle with connections, and you’ll find yourself nudging cables or devices a little to one side as you make room. Routine tasks like dusting the visible surfaces or shifting a streaming box for better airflow happen in quick, occasional bursts rather than as a formal maintenance chore.
Routing cables becomes part of that routine rhythm: you guide a power cord or HDMI lead through the nearest opening, then tuck the excess along the back so it doesn’t hang where you brush against it. For quick reference, you’ll commonly do small things like bundle a pair of leads with a twist tie, route a power brick so it sits flat behind the shelf, or loop a long cable and tuck it into the rear cavity. A few everyday patterns repeat for most setups:
- place frequently-swapped plugs near the outer edge for easier access;
- route long runs along the wall rather than across the opening to avoid pinching;
- keep bulky adapters slightly offset so they don’t press against the rear panel.
| Device | Typical exit point | Common note |
|---|---|---|
| Streaming stick / small box | rear cable hole | quick to unplug, frequently enough sits toward front |
| Game console | rear bottom opening | HDMI+power bundled and run along wall |
| Router / modem | rear center area | ventilation and cable space influence placement |
space behind the shelf usually handles most everyday routing, but bulky plugs or a crowded bundle can mean you end up shifting components slightly forward or off to one side to make things fit and to keep airflow clear.
Suitability expectations and real life limitations in day to day use
In daily use the floating media shelf’s pared-back silhouette affects routine interactions more than the spec sheet suggests. Cable runs that appear neatly concealed in photos often end up bunched behind the cabinet when several devices share the same pass-through, and the placement of the cable openings tends to determine how equipment is stacked or fanned out.Accessing rear ports can require sliding boxes forward or tilting the cabinet slightly, so quick swaps or frequent reconnections show where the design trade-off between a clean front and rear accessibility becomes visible. The shallow overhang and wall-mounted arrangement also change cleaning habits: dusting under and around the unit takes a bit more attention, and the visible edges invite occasional alignment checks after household bumps or when doors are moved around furniture.
Everyday limitations show up as patterns rather than one-off frustrations. Equipment that needs airflow or frequent hands-on interaction tends to sit where cords and plug orientation are easiest to route, which can leave other surfaces or shelves underused. The bracket-and-stud dependence for wall mounting limits where the unit will actually end up in a room, and heavier or asymmetrically loaded setups reveal small shifts in how weight is distributed across the shelf over time.The table below summarizes a few recurring observations versus what is commonly expected in photos and listings.
- Cable management: conceals some wiring but can become congested with multiple devices
- Access to ports: neat front presentation often means more effort at the back during maintenance
- Placement adaptability: wall-stud locations and adjacent furniture influence final positioning
| expectation | Common observation in daily use |
|---|---|
| Hidden cables and tidy rear | Cables gathered into visible bundles when several devices are present |
| Simple relocation | Final placement often dictated by stud locations and nearby power outlets |
| Low maintenance look | Requires periodic dusting under and around the shelf to keep the minimalist look |
See full product listing and specifications
When you unpack the pieces in your living room,assembly tends to feel like a small staging operation: panels laid out on a blanket,hardware packets separated into little piles,and the longest board propped against the wall near where it will hang. You’ll find yourself nudging a side table or moving a lamp so there’s room to work, and there are small, habitual adjustments—setting a panel down to steady it with your knee, or leaning a bracket against the shelf while you retrieve a screw. The most visible moments are measuring and marking the wall, holding the mounting plate level as you drill pilot holes, and then swapping between a hand tool and a power tool to drive the fasteners. Small details that matter in use—where the cable holes end up relative to your outlet, how the top edge sits against the baseboard—are decided in these minutes, often with an extra gentle re‑aligning before tightening everything down.
Common tools you’ll reach for include a mix of the included hardware wrenches and a few household items, so you don’t have to hunt for anything mid‑build:
- Tape measure — for marking heights and stud locations
- Level — to keep the shelf straight as you mark and secure brackets
- Drill/driver — speeds up pilot holes and long screws
- Stud finder — helps locate framing behind the drywall
- Small bowl or tray — to hold screws, washers, and small bits
Below is a quick reference that shows typical usage moments for each tool in a home setup.
| Tool | Typical use | When you’ll use it |
|---|---|---|
| Tape measure | Measure clearance and mark mounting height | Before marking holes and when positioning panels |
| Level | Ensure brackets and the shelf are horizontal | During marking and final tightening |
| Drill/driver | Make pilot holes and drive screws quickly | When fastening brackets and through‑bolts |
| Stud finder | Locate studs for secure anchors | At the start, before any drilling |
| Small tray | Keep tiny hardware organized | During unpacking and throughout assembly |
How the Set Settles Into the Room
After some months you stop noticing the edges of the TV stand Modern TV Stand with Leg and start noticing how your routines move around it. You find the shelf holding magazines and the top collecting small habitual things, and as the room is used you watch softened marks appear where hands and mugs have rested. In daily routines it becomes a backdrop for evening light, hurried breakfasts and the small pauses between errands, a familiar presence in regular household rhythms. It becomes part of the room and stays.